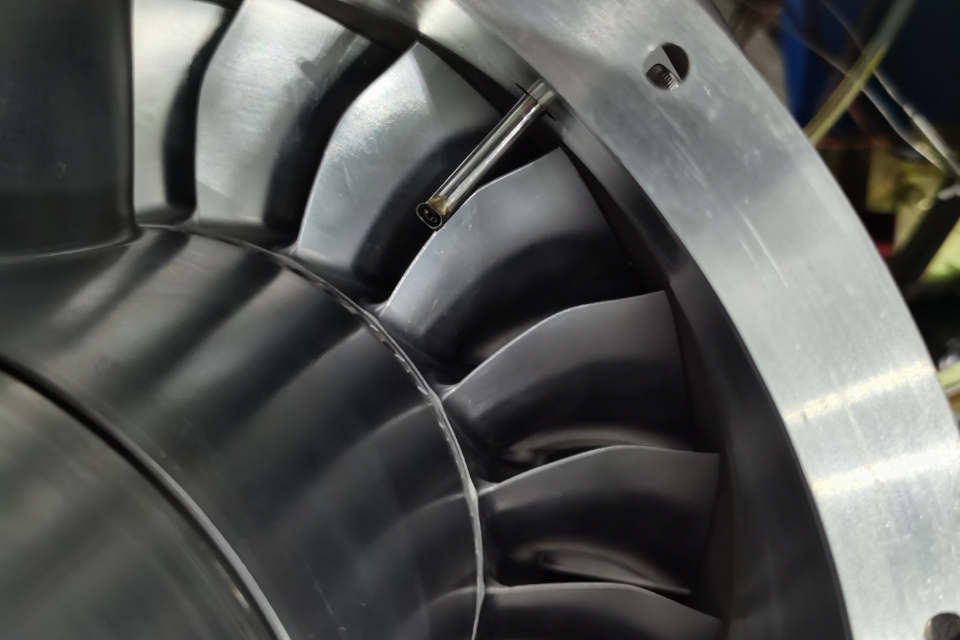
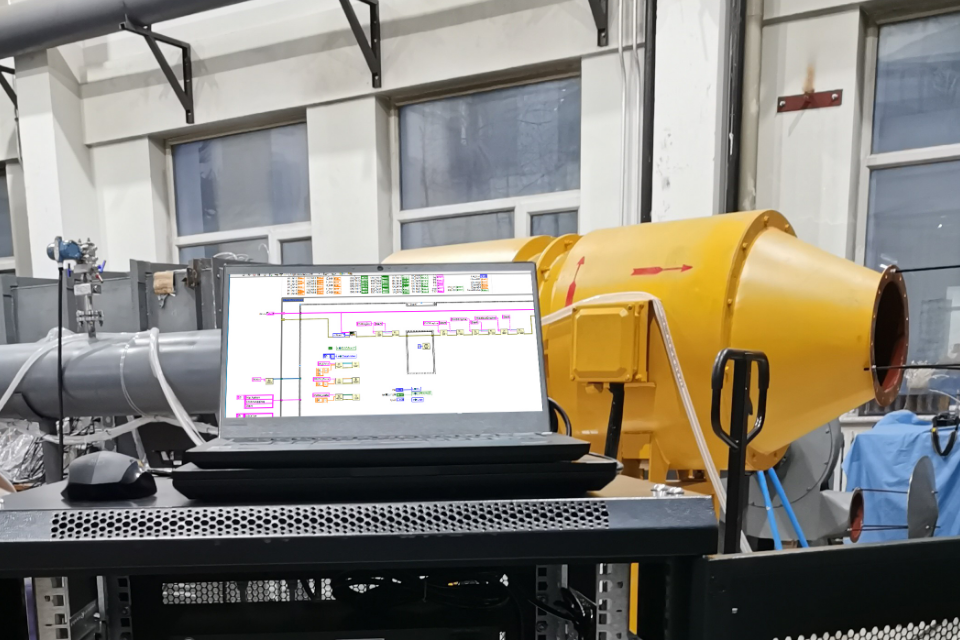
Before the 1950s, multi-point pressure measurement in wind tunnel tests and fluid dynamics experiments usually used the liquid pipe method, and the number of measurement points can reach hundreds, and the data processing depends on manual labor, resulting in large errors and poor real-time performance. In the 1960s, the emergence of new pressure sensors converted pressure signals into electrical signals, which improved the speed of multi-point pressure measurement, but the high cost and the difficulty of later cycle verification made its accuracy generally only reach 0.20% FS ~ 0.30% FS.
After a period of time, with the rapid rise of mechanical Pressure Scanners, multi-point pressure measurement technology began to enter a new development direction based on scanning valves. It uses a high-accuracy pressure sensor to measure the pressure value of each point in turn by means of mechanical scanning. Although the scanning period can reach (5 ~ 10) points/s, it still can not meet the requirements of high-speed wind tunnel test for pressure acquisition.
In the early 1980s, the electronic Pressure Scanners measurement system appeared, which is a new achievement that makes full use of the development of electronic technology. The system uses a number of low-cost silicon piezoresistive sensors, so that each pressure sensor can correspond to a channel pressure point. This method solves the problem of pneumatic lag of mechanical Pressure Scanners, improves the real-time performance of the system to collect pressure data, and the acquisition rate reaches tens of thousands of points per second, and can also correct the error of the sensor through online real-time calibration technology, so as to improve measurement accuracy.
Research Status at Home and Abroad
Research Progress Abroad
In the early 1980s, Pressure Systems Inc (PSI) took the lead in introducing the 780B pressure measurement system. The 780B system consists of a controller, a data acquisition, a control unit, a pressure calibration unit and an electronic scanner. The measurement points are 512 points and the scanning rate is 20000 points/s. The measurement accuracy is 0.10% FS. In 1986, ScanivalveCorp of the United States launched the ZOC series pressure measurement system, whose composition and working principle are similar to 780B, with 512 measurement points and 50000 single-point scanning times.
In the following years, PSI continued to introduce the second generation pressure measurement system-PSI8400 pressure measurement system. It is a modular parallel pressure acquisition and processing system, which solves the problem of being technically limited by a single A/D converter and microprocessor in the past. It can be used to measure the pressure parameters of gases and liquids. Each input unit of the PSI8400 system is composed of an 8-bit microprocessor and independent acquisition hardware. It can collect 400,000 channels of data per second, with an accuracy of ± 0.05% FS. In 1988, the American Scanning Valve Company also began to launch the second-generation pressure measurement system-HyScan2000 pressure measurement system. Using advanced hardware technology, the system is equipped with a high-speed A/D converter with a scan rate of 100,000 measurement points per second and a measurement accuracy of 0.06% FS.
PSI has also launched the 9000 series, such as 9116, 9216, 9816 electronic Pressure Scanners and ESP series multi-channel Pressure Scanners, which can measure 16, 32, 64 channels, etc., with a maximum accuracy of ± 0. 03% FS, as shown in Figure 1 The 9116 electronic Pressure Scanners system is shown.
While improving the Z0C series, the American Scanning Valve Company has also launched the DSA series and MPS series, with a maximum accuracy of 0.05% FS. In 2009, Kulite Corporation of the United States began to launch the Pressure ScannersKMPS series, with an accuracy of 0.10% FS.
Traceability of domestic research progress
The development of multi-point pressure measurement system in China started relatively late. In the 1960s, it still stayed in the stage of multi-point itinerant inspection, and in the 1970s, the data acquisition and processing system with minicomputer as the core was the main one. In the 1980s, microcomputers and automatic detection technology developed rapidly. In the 1990s, due to the restrictions of the United States, high-accuracy Pressure Scanners were not popularized. Many units used single sensors or mechanical Pressure Scanners, but some units and scientific research institutes introduced American electronic Pressure Scanners. To ensure high-precision test data.
In order to break through the blockade of Pressure Scanners pressure measurement technology, from 1991 to 1994, Zhong Chengwen's team of Northwestern Polytechnical University successfully developed the first generation of DSY64 electronic scanning pressure measurement system and DSY128 electronic scanning pressure measurement system, with an accuracy of ± 0. 10% FS and a scanning rate of 20,000 points/s. In January 1994, it passed the ministerial appraisal, and it was considered that this pressure measurement system reached the level of similar products abroad in the 1980s. In 1998, the NPU team continued to launch the second-generation DSY-JB electronic scanning pressure measurement system. Compared with the first generation, the second-generation structure tends to be standardized and commercialized.
In 2001, the team of Xigong University developed the DSY2000 electronic scanning pressure measurement system, with an accuracy of ± 0.05% FS and a scanning rate of 50,000 points/s. In 2002, the Xigong University team developed ZDS intelligent electronic Pressure Scanners, which uses the least square fitting algorithm for digital temperature compensation, with an accuracy of ± 0. 06% FS, a scanning rate of 1000 points/s, and a measurement temperature range of 0 °C to 40 °C. In 2004, the team of Xigong University continued to develop the DSY2000K electronic scanning pressure measurement system. At the end of 2004, two sets of engine test automatic measurement and control systems developed by our country-DSY2000 pressure measurement system and ZDS intelligent electronic Pressure Scanners passed the acceptance of the expert group.
Recently, in the face of continuous pressure from the United States in the field of high-accuracy measurement, my country's scientific research institutions have also begun to conduct research on the localization of high-accuracy pressure measurement systems. In 2016, Gu Hongbin, the State Key Laboratory of High Temperature Gas Dynamics, Institute of Mechanics, Chinese Academy of Sciences, developed a high-accuracy electronic pressure scanning system. The system has 128 channels, an absolute pressure range of 45PSI, an accuracy of 0.05% FS, and a scanning frequency of 100Hz.
In 2020, Peking University designed Pressure Scanners, which has the advantages of small size and high anti-interference. In 2021, Ma Shenglin's team at Peking University proposed the large-scale pneumatic pressure sensor cluster acquisition and processing chip system and industrialization. Taking the overall structural design and optimization of 32-channel high-accuracy Pressure Scanners as the research object, on the underlying hardware, the key tape-out technology of MEMS chips will be carried out. In terms of scanning rate, the high-speed interface of the Pressure Scanners array is designed, and key core technologies such as batch testing and calibration technology are studied at the same time, so that the accuracy is better than ± 0. 10% FS. Compared with foreign mature technology, the Pressure Scanners has the advantages of impact resistance and high cost performance. The comparison of main product data at home and abroad is shown in Table 1.
Pressure Scanners pressure measurement technology combines computer, sensor and communication technologies to promote the improvement of system performance. Although foreign Pressure Scanners technology is relatively mature, my country still faces challenges such as high accuracy, stability and anti-interference in terms of independent research and development. The realization of these indicators not only depends on the technology research of MEMS chips, but also requires a large number of calibration tests and optimization of temperature compensation algorithms. At present, although appropriate calibration methods can improve accuracy, it is still a difficult problem to achieve automatic in-situ calibration in the test environment, especially the calibration of multi-channel sensors one by one. Therefore, standardized calibration methods and uncertainty assessment become future research directions. In terms of temperature compensation algorithms, my country is still in the stage of traditional regression methods, and machine learning and neural network algorithms are expected to bring more efficient solutions in the future.


